How to set up an effective exercise in XVR
3 March 2015
How to set up an effective exercise in XVR
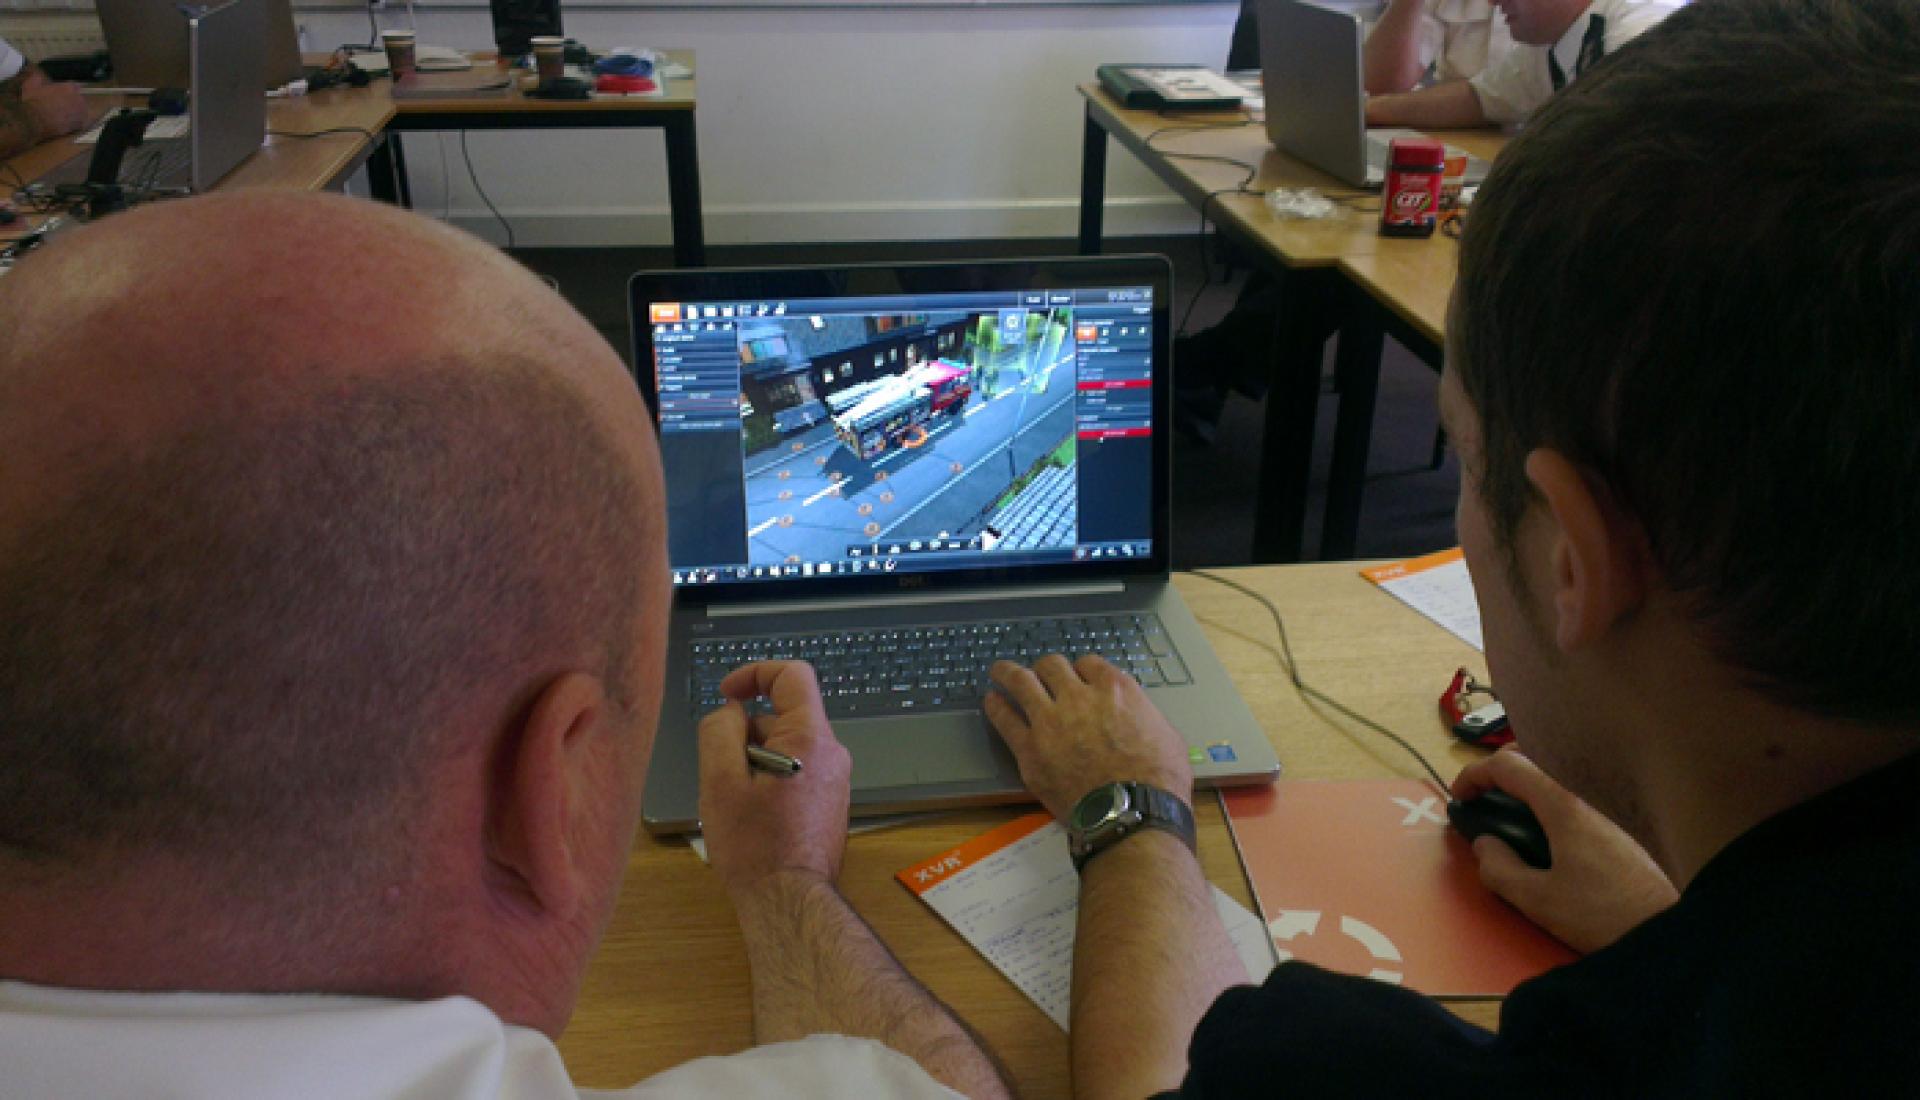
By Edwin van de Snepscheut - It is a challenge that every instructor faces: how can you make sure that your XVR scenario will accomplish your educational goals? The solution lies in following the correct steps. In this post, I will discuss these steps further.
Something I often notice when visiting customers is that instructors have the tendency to start building in XVR immediately in preparation for an exercise. The risk of this approach is that you are working too much from your own instructor view on the computer. You might end up with a great looking scenario, but it is unclear whether all the elements in the scenario actually contribute to the exercise goals.
By utilising years of experience in supporting exercises worldwide, we have developed the following step by step approach to help instructors set up an effective exercise in XVR:
Step 1: First assessment
In this first step you determine the general outline of your training scenario, based on a number of factors: for instance, is the exercise part of your regular training schedule? Or is there another reason to conduct the exercise?
You also look at recent incidents in which your organisation was involved. What kind of incidents happened? Who were involved and in what role? Which points to improve on emerged during the evaluation?
By answering these questions, you get a general outline of your scenario; the environment you will use, the scale of, and the kind of incident.
Step 2: Analyzing and describing tasks
In this step you zoom in on the different roles and tasks in your scenario. Again, you use a number of questions:
· Which roles exist in the scenario you want to train with?
· Which tasks and subtasks are designated to the persons involved?
· What knowledge and skills do they have? As individuals and as a team?
Step 3: Define lesson goals
A crucial step is to define which procedures, knowledge and competencies you are going to train. Determine your priorities by assessing which people are involved in which roles, as well as practical matters such as the available time.
Naturally, you should make your lesson goals SMART (Specific, Measurable, Attainable, Realistic and Timely).
Step 4: Designing the exercise
During the previous steps, you defined the scenario and environment in which you are going to train, your target group, your lesson goals and your practical conditions. This gives you the framework for designing your exercise.
Again, it is crucial to proceed in the correct order. Do not start building in XVR straight away, but work out the exercise in a script first. In this script, you describe how the scenario develops as well as the role play between the students and the instructor.
So only after finishing the script – halfway through step 4 - should you start building in XVR!
Another tip: rehearse the scenario with your fellow instructors, to find out if everything works as intended.
Step 5: Conduct the exercise
How to organise and conduct an exercise is a story in itself. I will discuss this topic further in an upcoming blog post.
One more tip: even if your time is limited, always give your students a few minutes to get familiar with the software and the controls – regardless if they are XVR novices or practice with XVR on a regular basis. This way you remove insecurities about using the joystick or gamepad, allowing your students to concentrate fully on the exercise. Edwin van de Snepscheut is Senior Consultant at XVR Simulation.
.jpg?resolution=20x19&quality=1&type=webp)

